


GOGONFLY Battery Disconnect Switch, DC 12V 24V Battery Master Isolator Cut Off Power Kill Switch for Marine Car Boat RV ATV Auto Truck Vehicle, with 2 Waterproof Key, 4 Copper Ring Terminals : Automotive
- Category: Battery Switches
- Store: GOGONFLY
Share on:
Description
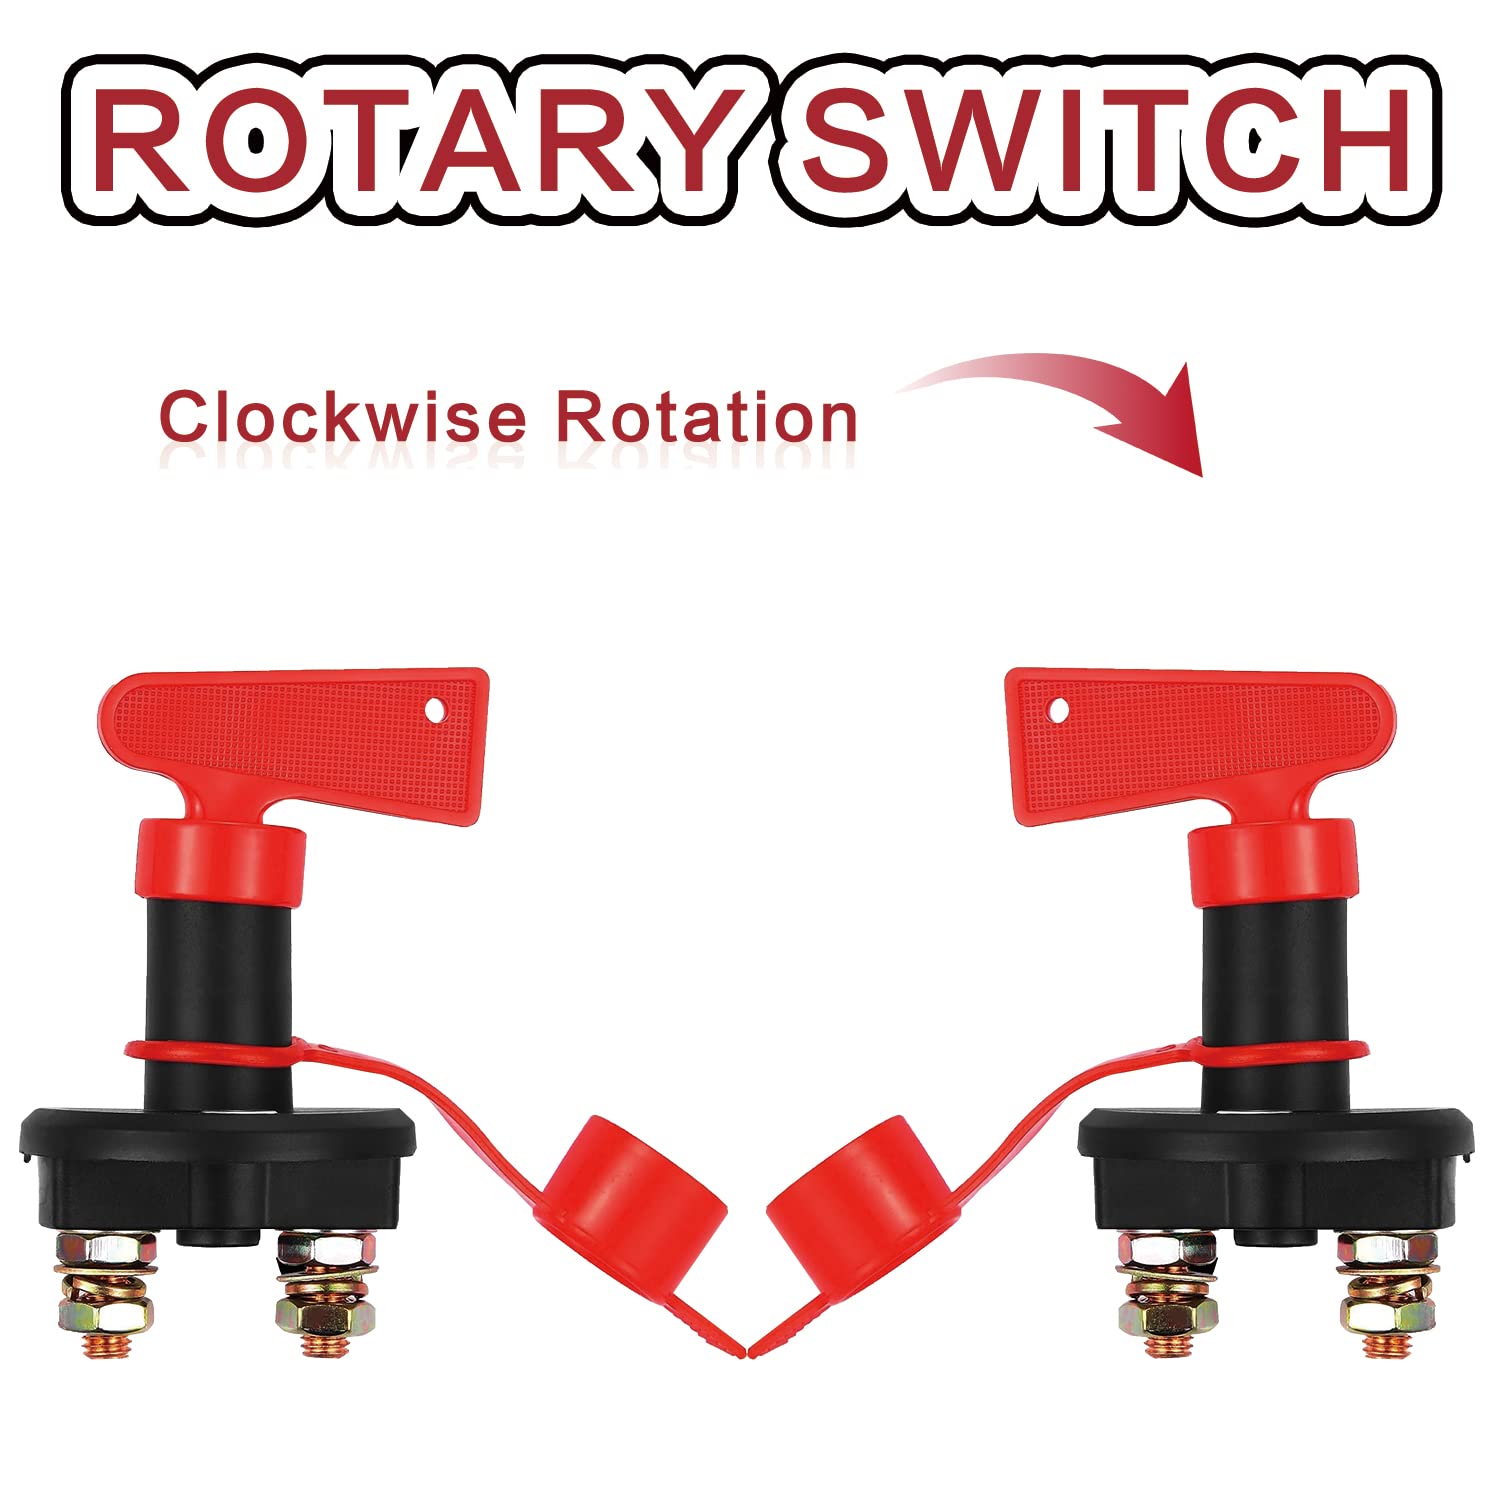
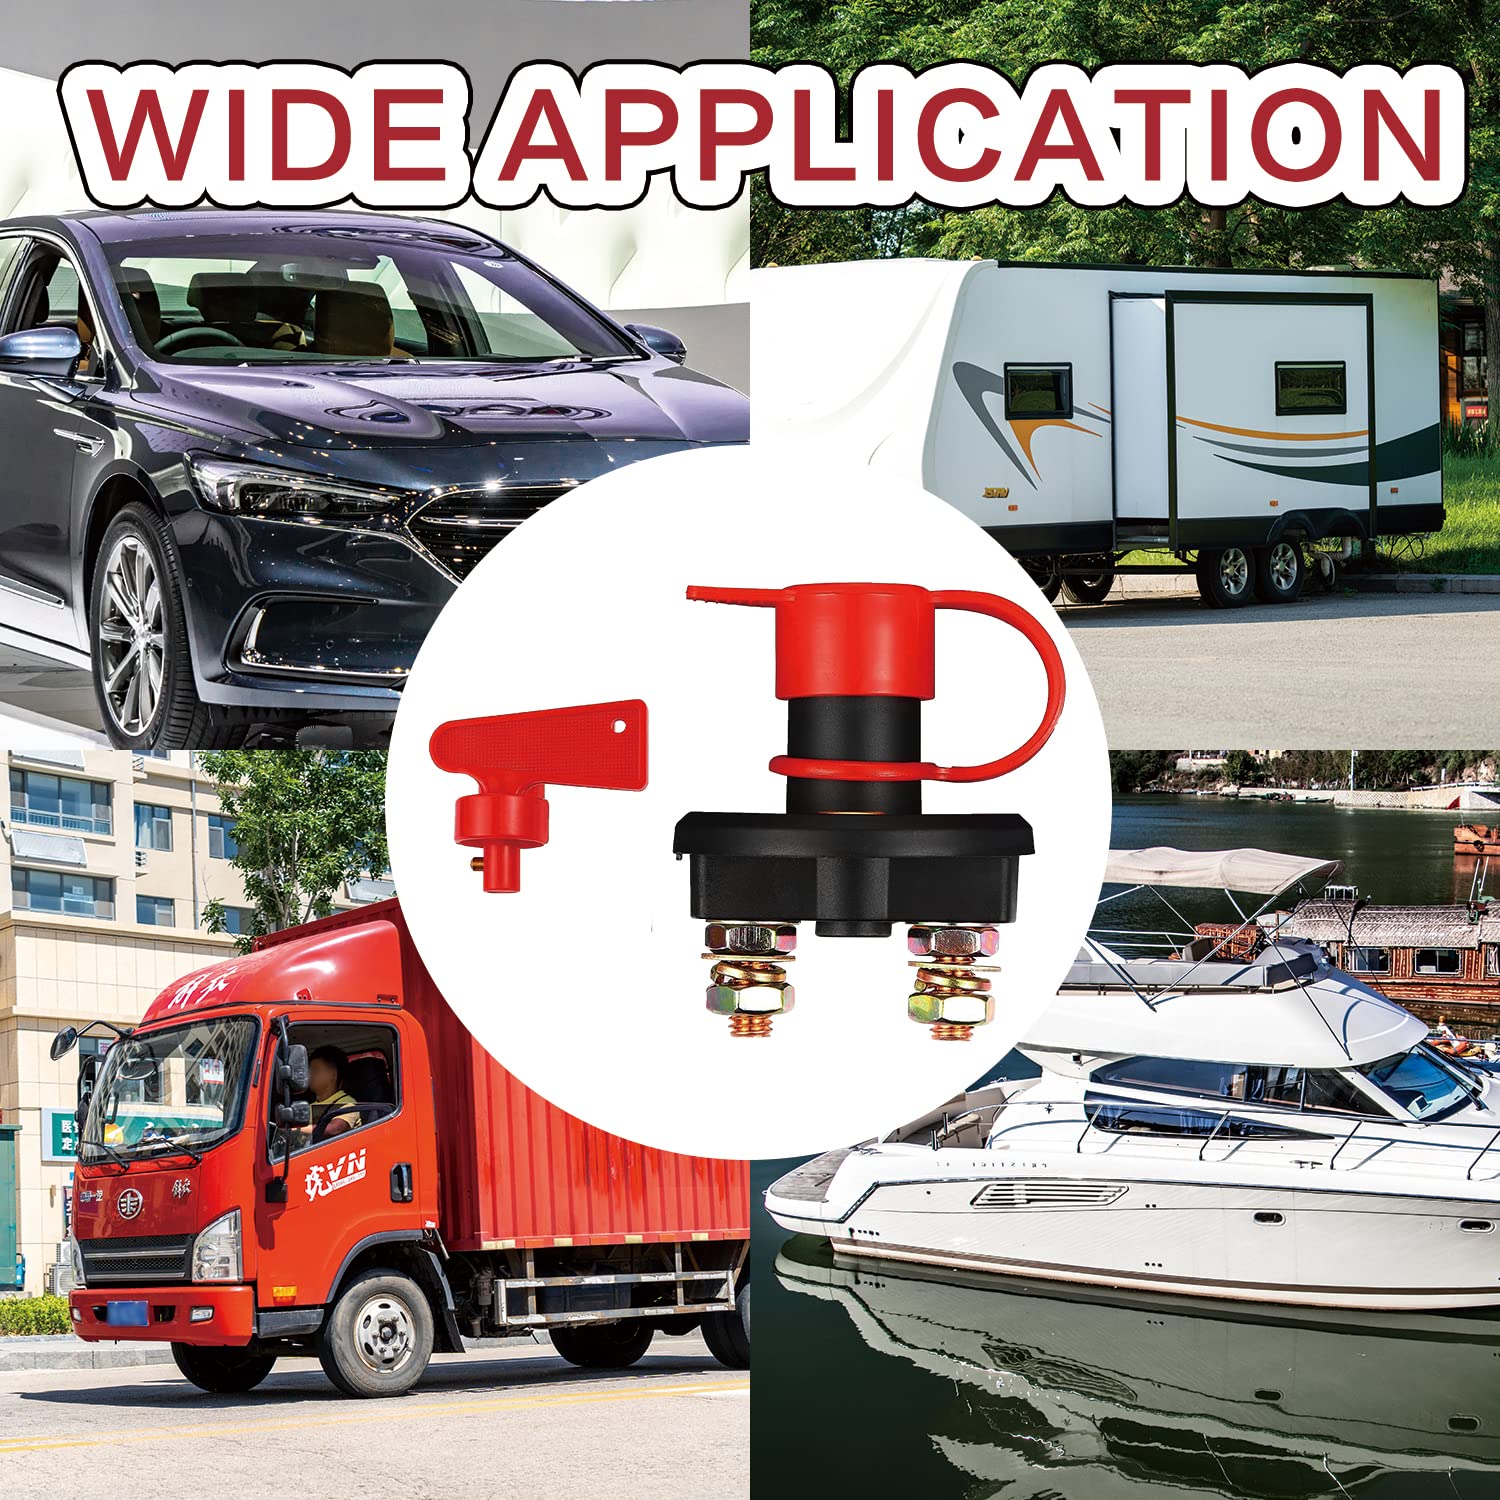
See more product details 1. Mark the position where the switch needs to be installed on the front of the battery panel, and cut a hole to fix the switch. (You can refer to the product size to determine the diameter of the hole.) 2. Disconnect the negative terminal (usually black, marked with a "-"). Do this first to avoid the possibility of an electrical short or shock, which is not good for your vehicle or your body. 3. Disconnect the battery positive terminal (usually red and marked with a "+"). 4. One of the two feet of the switch is connected to the negative pole and the other to the positive pole. After the connection is completed, the power can be normally turned on, and the switch can also be cut off normally. Copper terminals with stainless steel hex nuts for improved continuity. Rust and corrosion resistant. The keys are made of plastic and fit perfectly on the thumb for ease of use It can withstand a working temperature between -40° and 80°, and it can work normally even in harsh environments Turn the red key clockwise to adjust the switch. The key fits tightly to prevent battery drain and theft. The red cover can prevent from dust and water, prolong their lifespan Repare strip wire, copper lug, heat shrink tube Crimp using tool for terminal connectors Insert heat shrink tube Apply heating 1 x Battery Disconnect Switch 2 x Keys 1 x Waterproof Cover 4 x Copper Ring Terminals 4 x Heat Shrink Tubings To calculate the overall star rating and percentage breakdown by star, we don’t use a simple average. Instead, our system considers things like how recent a review is and if the reviewer bought the item on Amazon. It also analyzed reviews to verify trustworthiness.
Product Overview
We Recommend