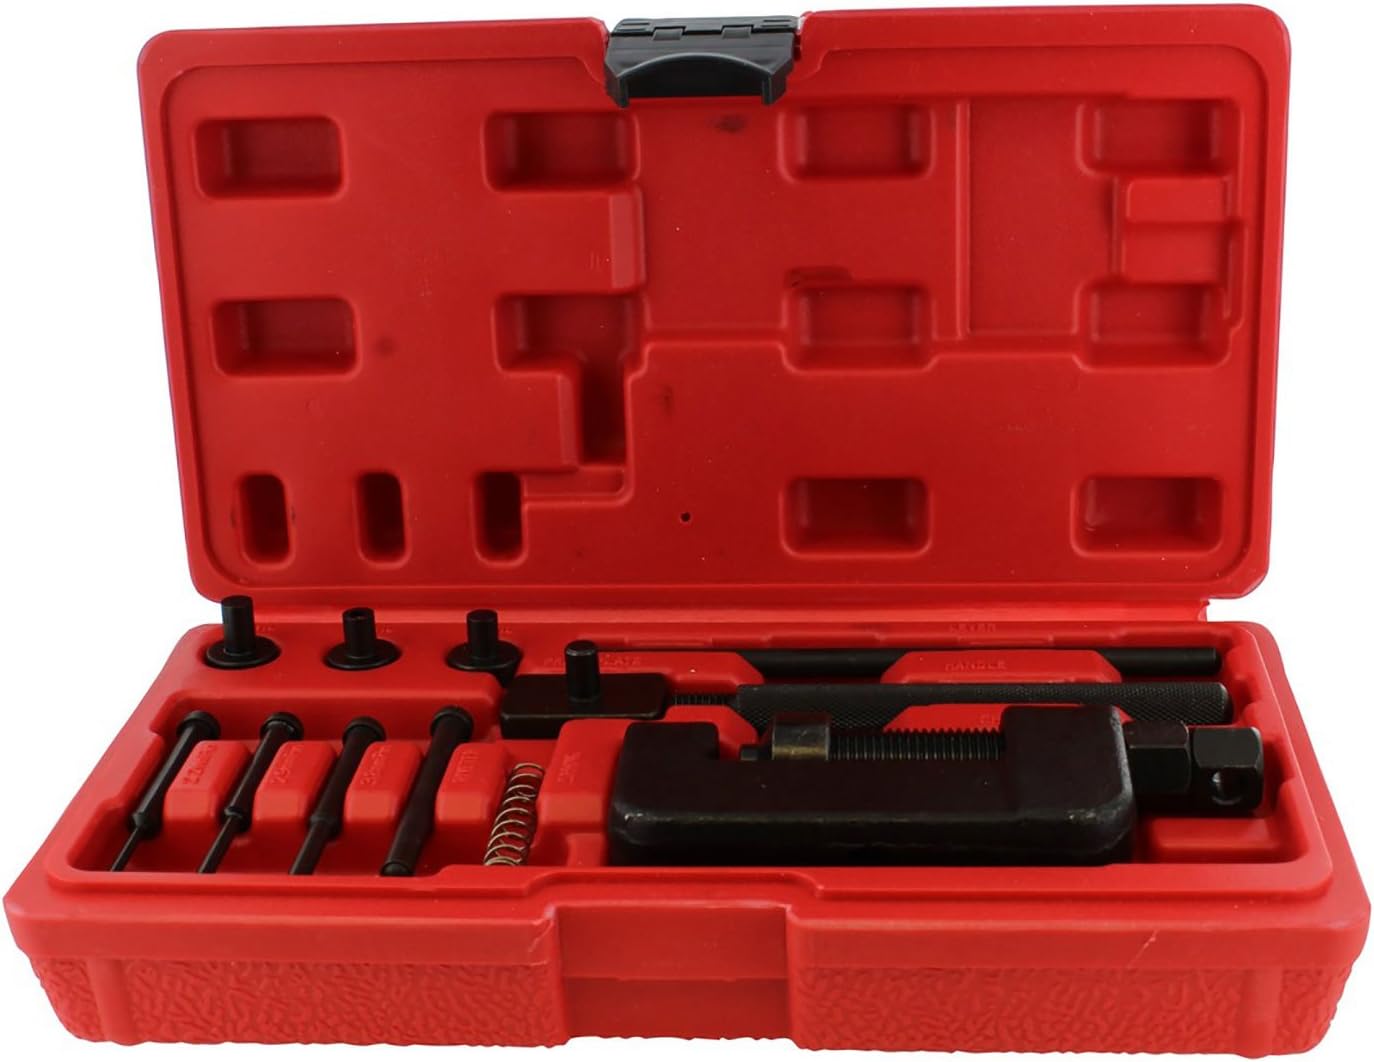

BESTOOL Motorcycle Crankcase Crank Case Splitter Separator with 360 Degree Rotational Arms, C-Clip Adaptor, 15-Piece : Automotive
- Category: Tool Kits
- Store: BESTOOL PROFESSIONAL GARAGE TOOLS & EQUIPMENT
Share on:
Description
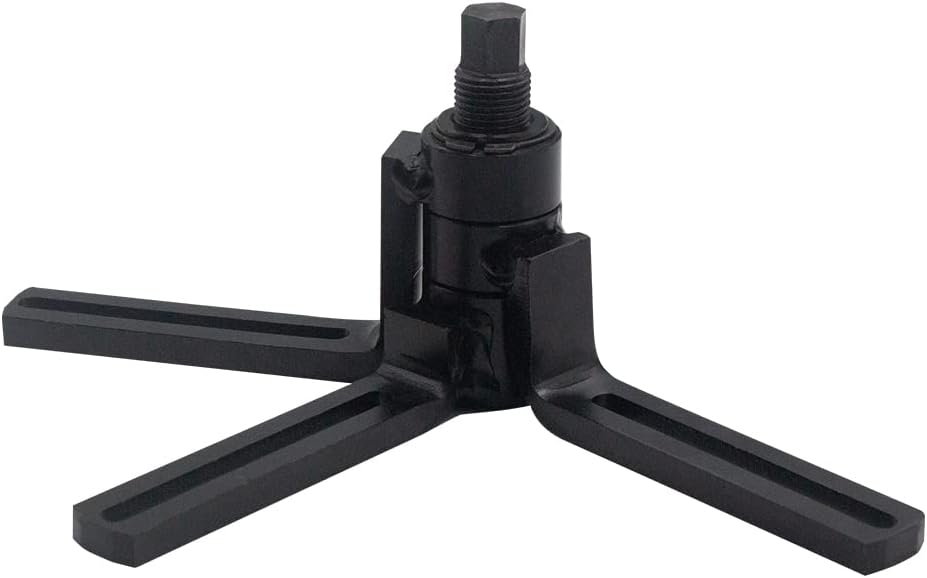
360-Degree Adjustable Arms -BESTOOL crankcase splitter has crankcase splitter separator is equipped with adjustable arms, which allows it to be used on a variety of bolt patterns. Heavy-duty Steel Construction- Rugged, Corrosion-resistant, and Long-lasting, it will be your greatest and finest crankcase splitter and separating tool ever. Yamaha banshee/DT175 1980/2001 wr426/2015 YZ85/1984 YZ490 2000/2004 Suzuki RM125 2005 Honda CR 85 KX250 98/85/65 KTM 690 Yamaha Raptor 660/TTR 50 2007/YZ85/YZ 250/2001 wr426/2005 yz450f Kawasaki Tecate 250/97 kx80 ( used with C-clip Adaptor) KTM 125/144/150/2017 500 EXC-f/2014-85sx Suzuki 2003RM85L/2004RM125 Honda TRX 400EX/2005CR 85/2001 cr250r Raptor 700/250 STEP 1: Place center of splitter/Separator over exposed crank end. Back out threaded shaft until the splitter sits over crank and arms are parallel and equal distance from case STEP 2: Using supplied 6mm or 8mm bolts, attach splitter arms evenly spaced around the crank and attach arms to the crankcase. (If you only need two arms, please separate evenly.) NB: It is important that the splitter is properly aligned with the crank and the arms are parallel with the case. Make sure all bolts are removed from the crankcases. STEP 3: Using a 17mm socket or wrench, carefully tighten threaded shaft until case clears crank. STEP 4: Disassemble tool from crankcase. INSTALLING A HOT RODS CRANK BRAND-NEW IN AYZ250 The tool works on both sides STEP 1: Grease your crank and the main bearing and Insert the crank all the way in. STEP 2: Grab the Collet and set it up on the crank . Use a bolt to tighten it. STEP 3: Thread main coupler into pulling shaft. Slide housing over the pulling shaft and snug the pulling shaft nut. Make sure everything (crank and tool) is aligned and snug. Nothing should be tight at this point NOTE: If the base of the puller does not fit flush against the case (part of the case or engine component may interfere) the steel bars are needed to rest against the case. STEP 3: Make sure the rods are straight, Using a 26mm or adjustable wrench, tighten the puller nut until crank or bearing is seated in case. NOTE: To avoid the rod from bending, Make sure all bolts are removed from the crankcases and give the crankcase a knock to loose it. (old cranks tend to get stuck) STEP 4: Disassemble the tool and remove puller/installer from crank
Product Overview
We Recommend