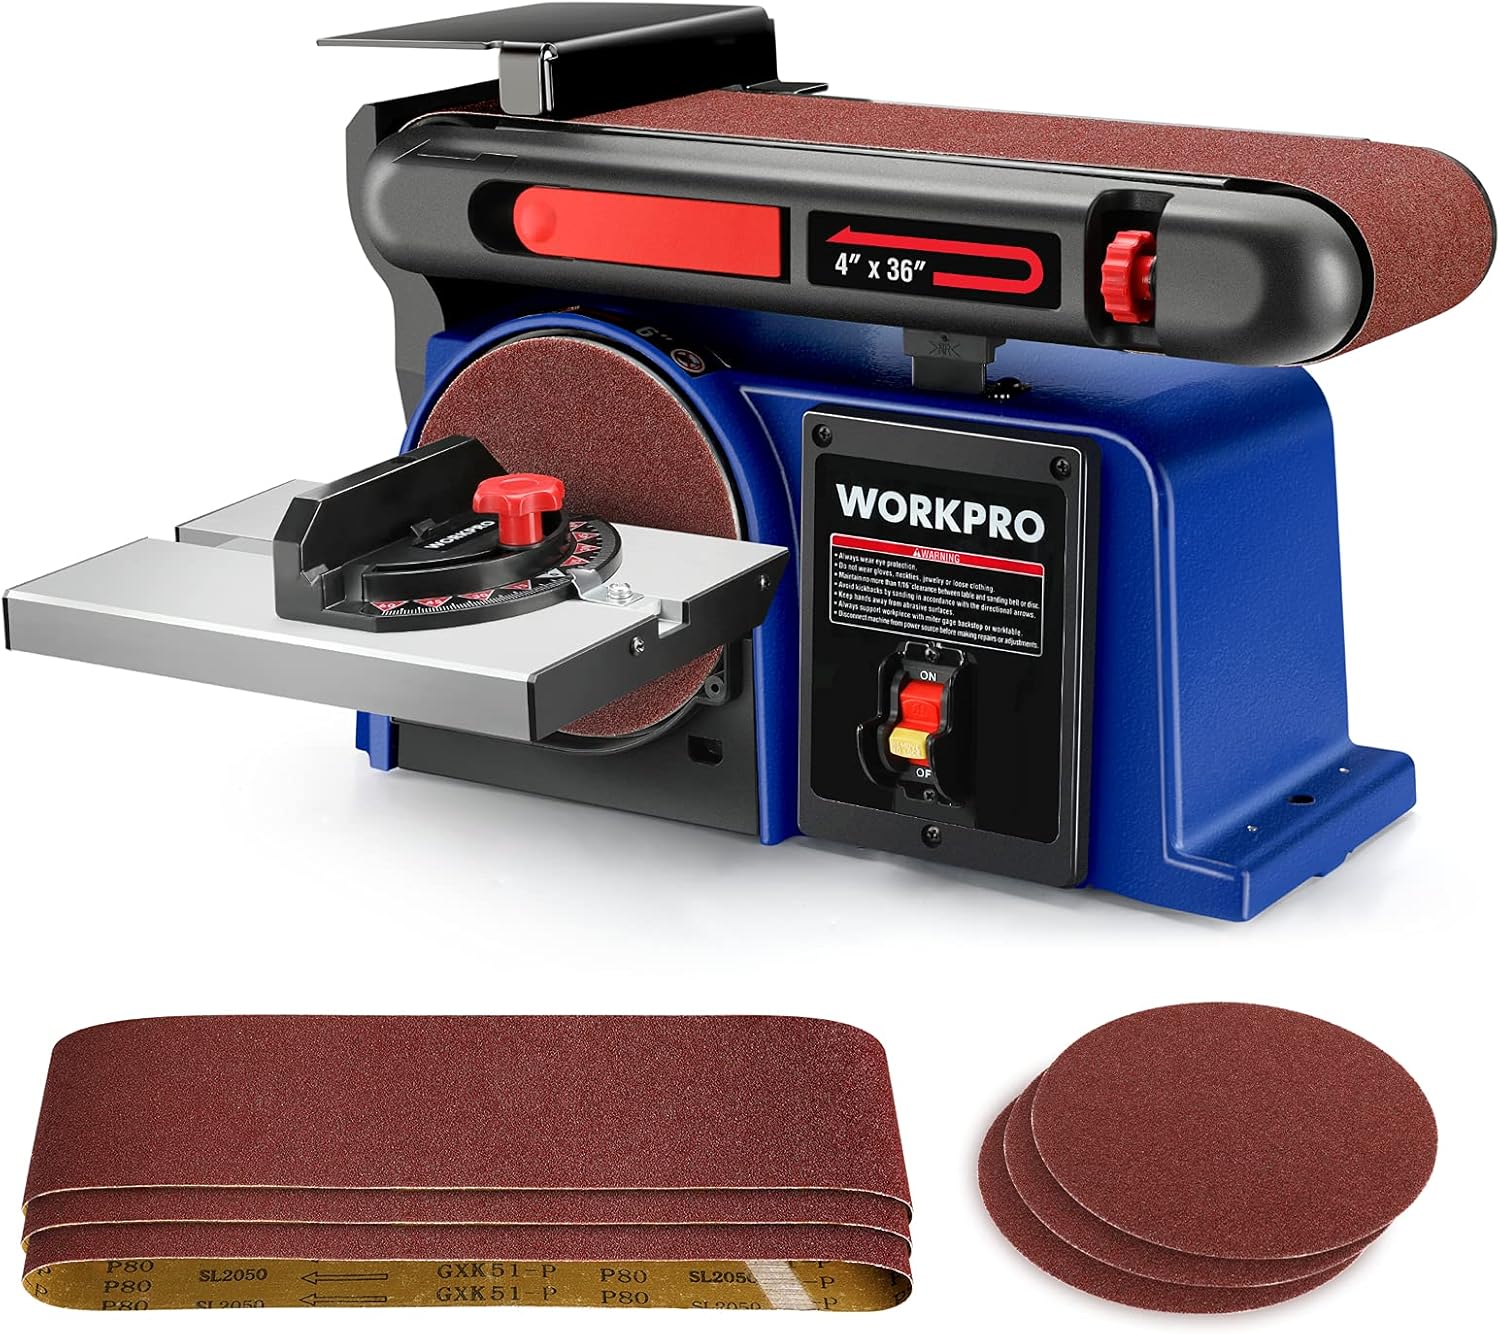


WORKPRO Belt Disc Sander, 4 in. x 36 in. Belt & 6 in. Disc Sander with 6pcs Sandpapers, Cast Iron Base for Sanding Woodworking, DIY Decoration - -
- Category: Combination Disc & Belt Sanders
- Store: WORKPRO
Share on:
Description
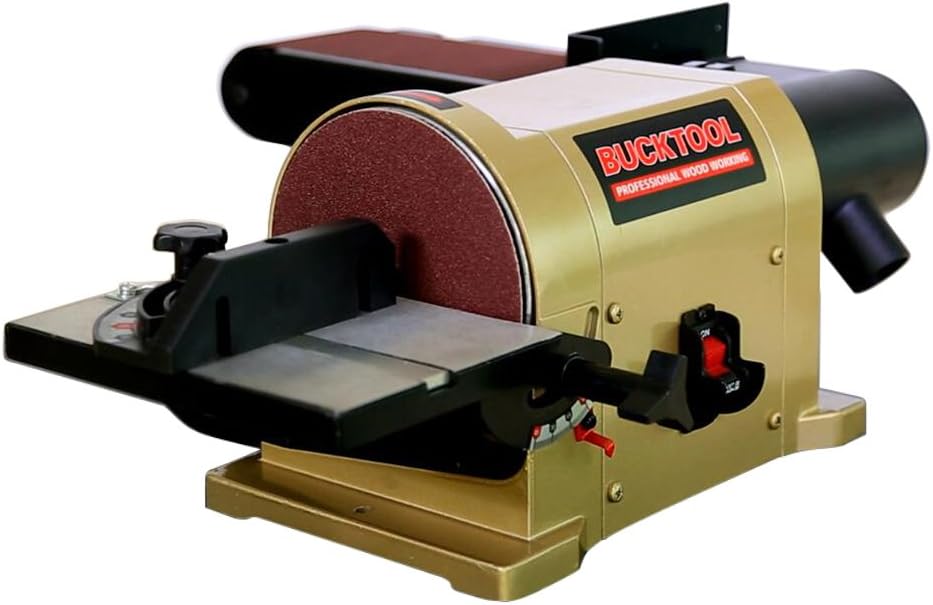
The tension quick release lever helps you switch and replace sandpaper grits as needed. Note: pull the belt tension lever toward you to release the belt tension. Turn the belt sander to vertical meets your different sanding needs. Note:using the hex key provided, loosen the positioning bolt by turning the bolt counterclockwise. Sanding small end surfaces using the miter gauge, improving sanding work efficiency. Note: Turn the red knob adjusting miter gauge. Installing/replacing sanding disc 1. Using the hes key provided, loosen the positioning bolt. 2. Move the sanding belt into vertical position, 3. Lock the sanding belt by tightening the positioning bolt. 4. Pull the belt tension lever toward you to release the belt tension. 5. Place the sanding belt over the drive roller and idler roller with the directional arrows running counterclockwise. Be sure the sanding belt is centered on both drums. 6. Push the belt tension lever back into place to apply the belt tension. NOTE: 1. Please follow the safety instructions in the manual. 2. If any parts are damaged or missing, please contact with our online service. 120 volts
Product Overview
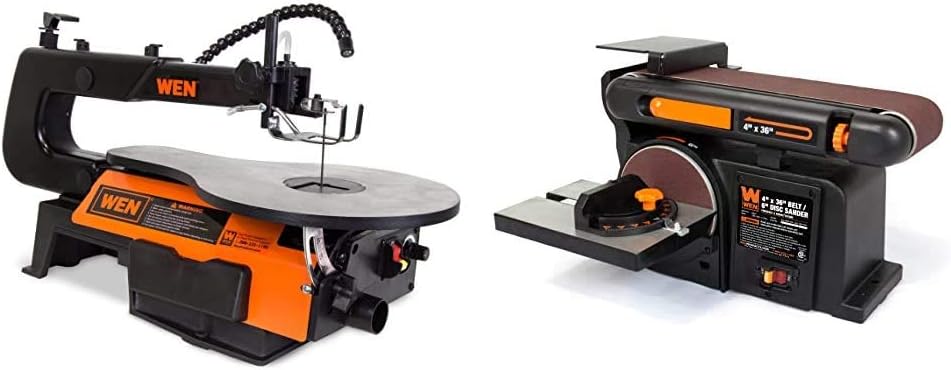
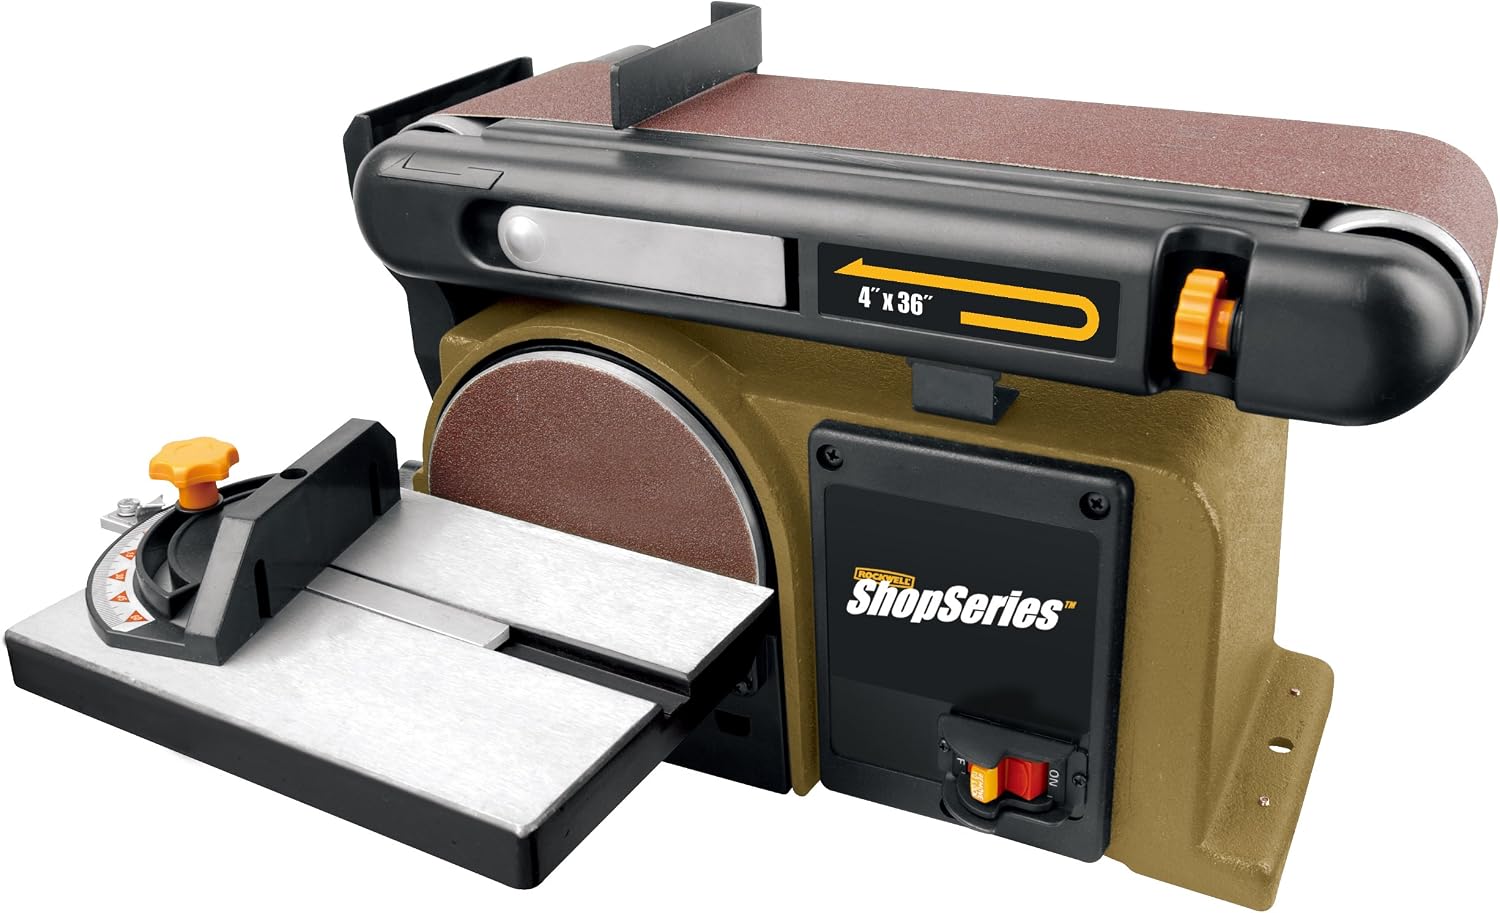
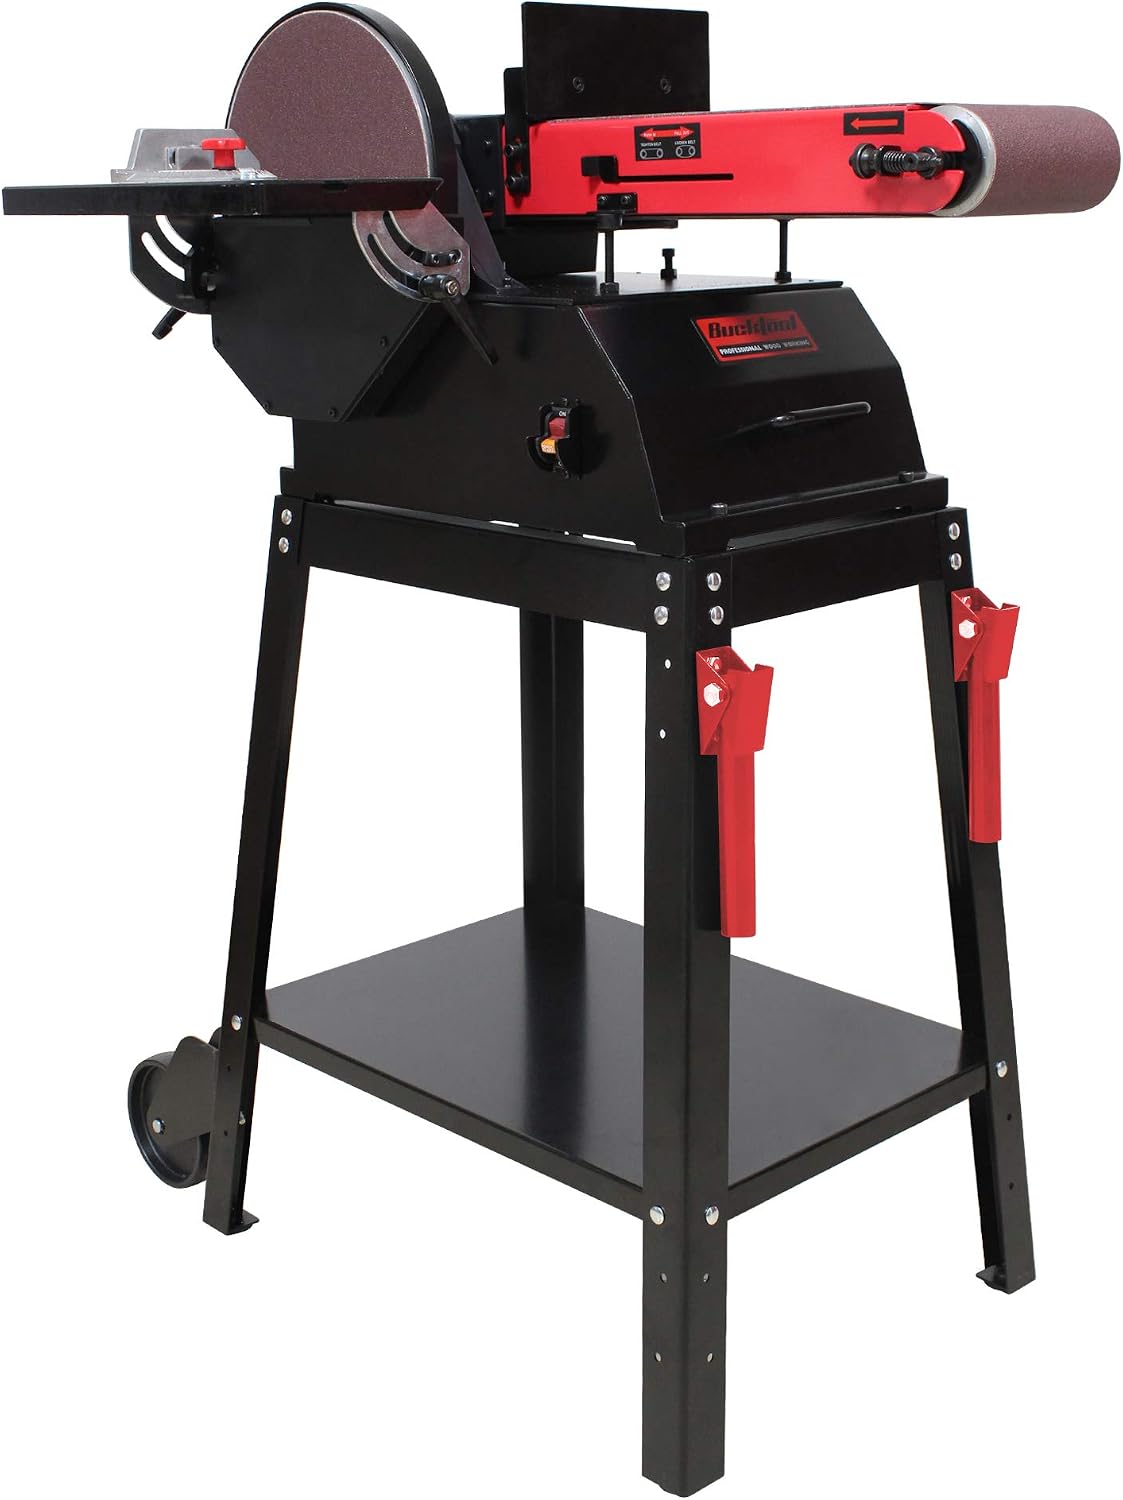
We Recommend