

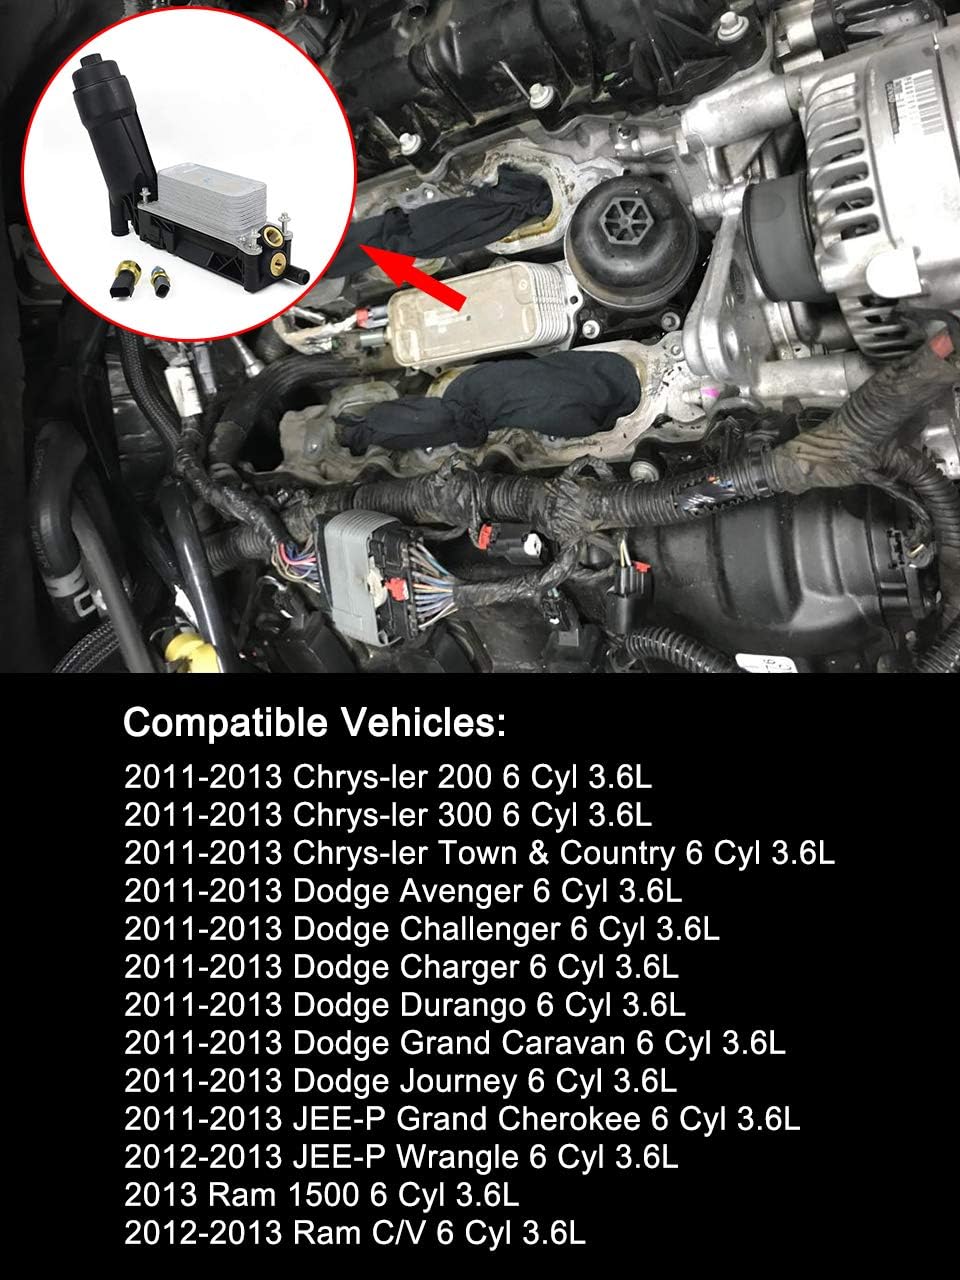
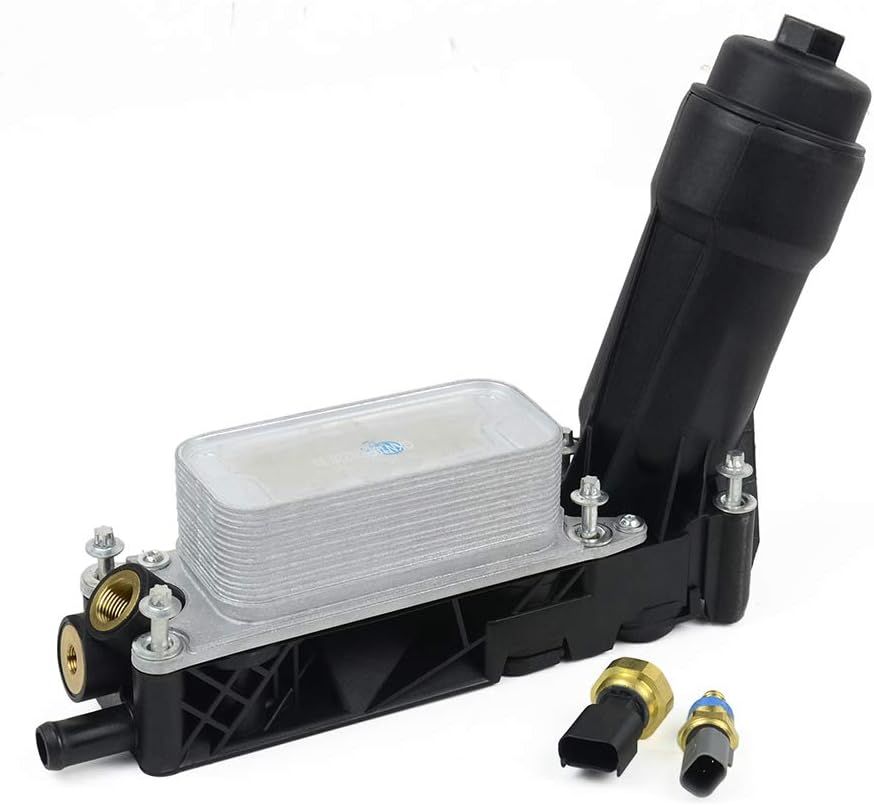
5184294AE Oil Cooler Filter Adapter Housing Assembly Compatible with Ch rysler 200 300 Dodge Journey Avenger Charger Wrangler Grand Cheroke 3.6L V6 2011-2013 with Oil Pressure & Oil Temperture Sensor: Automotive
- Category: Oil Filters
- Store: Brand: Benefast
Share on:
Description
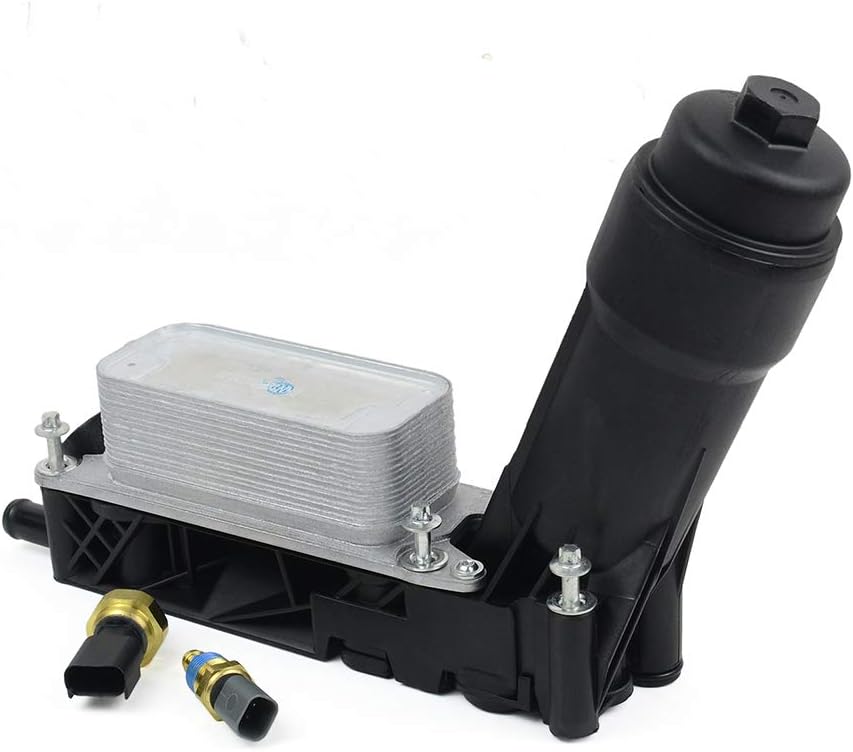
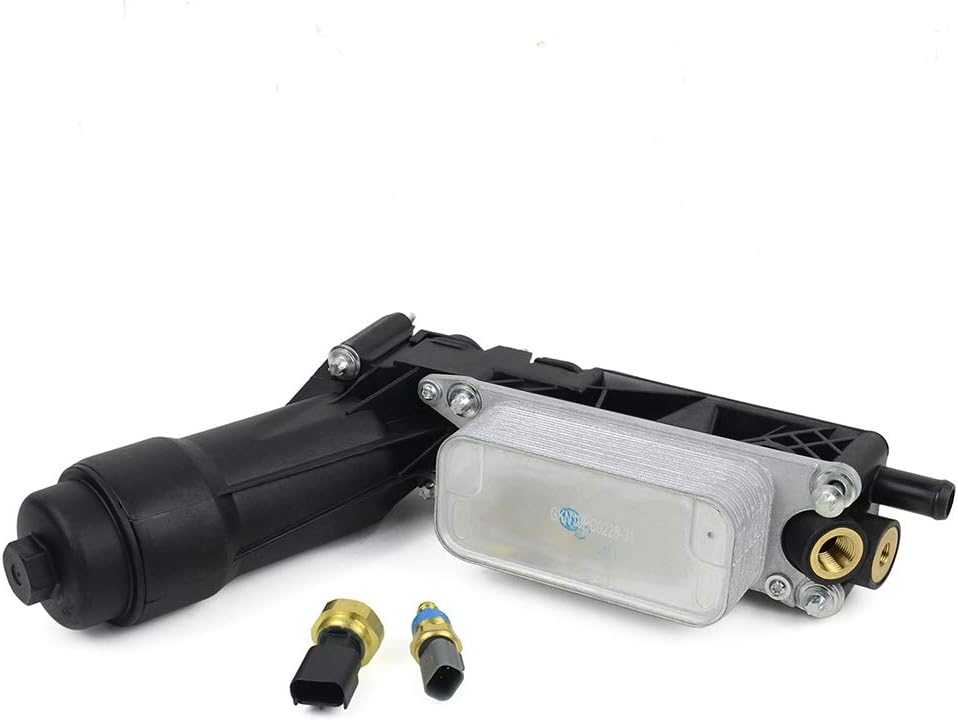
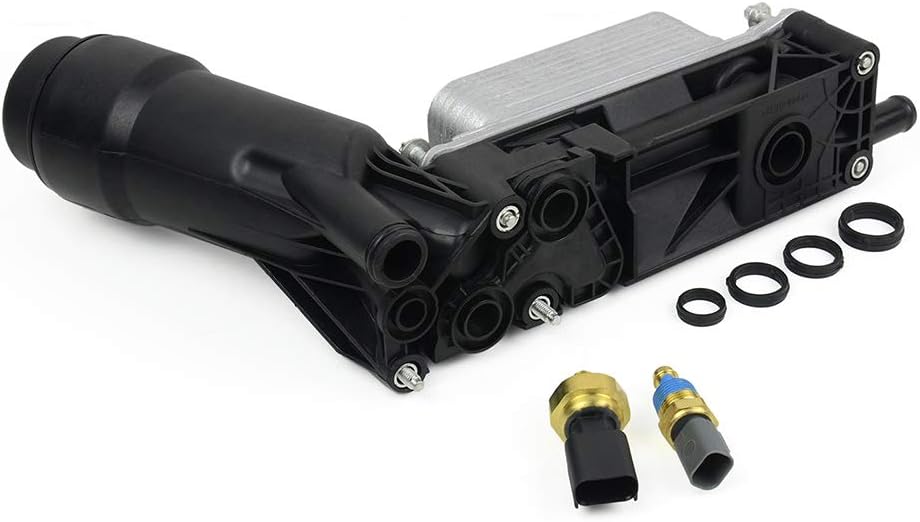
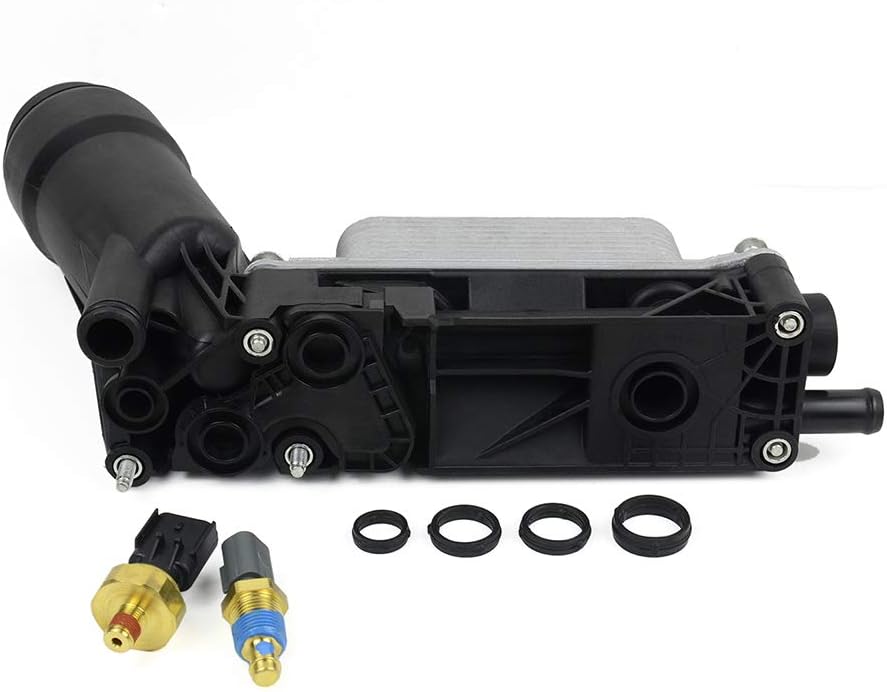
Purpose of engine oil cooler is to allow engine’s cooling system to remove excess heat from the oil. Engine oil is fed to oil coolers from an adapter that is located between the engine block and engine oil filter. The oil then flows through the tubes of the cooler while engine coolant flows around the tubes. Oil filter assembly housing contains oil filter for your vehicle. It allows the engine oil to be strained through the filter and remove foreign particles to keep your engine running clean. If the oil filter housing is impacted or otherwise cracked, engine oil will leak. Running your engine for a long time with a leaking oil filter housing can result in extensive engine damage. If you are experiencing oil leaks above the transmission or near the cooler housing where the oil filter is, you may have a problem with your oil filter housing adapter which need to be replaced. Disconnect the battery! Have parts off and the fuel line off. Next, you will want to take the air intake tube off from the throttle body to the air box. BEFORE pulling air intake pipe all the way off, disconnect the single sensor located closer throttle body and behind the pipe (facing the ground/firewall). After you have removed air intake pipe, I would recommend taking coolant out now, only to get the task out of your way. Remove two EGR/intake tubes located on the left side (passenger side) of the intake neck. Remove sensor plug and throttle body plug. You will also have to pry/remove the loom holders from intake and brackets. Remove nuts on bracket located on the right side of the intake neck, behind throttle body. You will then have to remove the front two bolts below throttle body in the front. Remove bracket once both nuts and bolts have been removed. Remove nuts on the driver side intake bracket located closer to the fire wall. On the passenger side, remove two bolts that holds the bracket onto that side of the intake. Located closer to the firewall, there is a wire loom that need to be pried/removed. Remove two nuts located on the same bracket that secure the coolant line onto the bracket. Before removing the upper intake bolts off, you have to remove the heat shielding pad from behind the engine. Pry the two push pins up to detach the pad from the brackets. Remove all upper intake bolts.Once you remove all the bolts, lift up on the upper intake. Pry the intake away from the driver side bracket you removed the bolts on earlier. Once the bolt studs are past the bracket and you can lift up, you should be able to pull the upper intake up and out towards the driver side. Unplug all the fuel injectors and remove the fuel line. Before you unbolt or remove the lower intake, it is important to pry/remove the back wire looms that are secured to the back of the intake. Remove all lower intake bolts and the intake. Wipe dirt and oils AWAY from the ports and get them taped up. Remove both plugs from the rear of the adaptor housing. You will not be able to get the rear coolant hose or clamp off the adaptor housing while it is still mounted in the valley. You will be able to remove the hose and clamp once you have taken the housing out. Remove all external torx bolts from the housing. The bolts will NOT come all the way out from the actual housing. You should be able to wiggle and lift the housing up and out. Once pulled, you can then remove the clam and coolant hose off. Remove the oil from the valley and then used needle noise pliers to dab small pieces of rag and soak up the rest of the oil. Prior to installing the new housing, make sure all debris is removed from the mountable surfaces. For the upper and lower intake reassembly, follow instructions in reverse. Don't forget to replace and check all fluids prior to starting vehicle.
Product Overview
We Recommend