Beetles Poly Extension Gel Nail Kit, Clear Nail Builder Gel Pink Nude Poly Nail Enhancement Trial All-in-One French Kit with Mini Nail Lamp for Nail Art Starter Kit Best Valentines Day gifts : Beauty & Personal Care
- Category: Nail Art Equipment
- Store: beetles Gel Polish
Share on:
Description
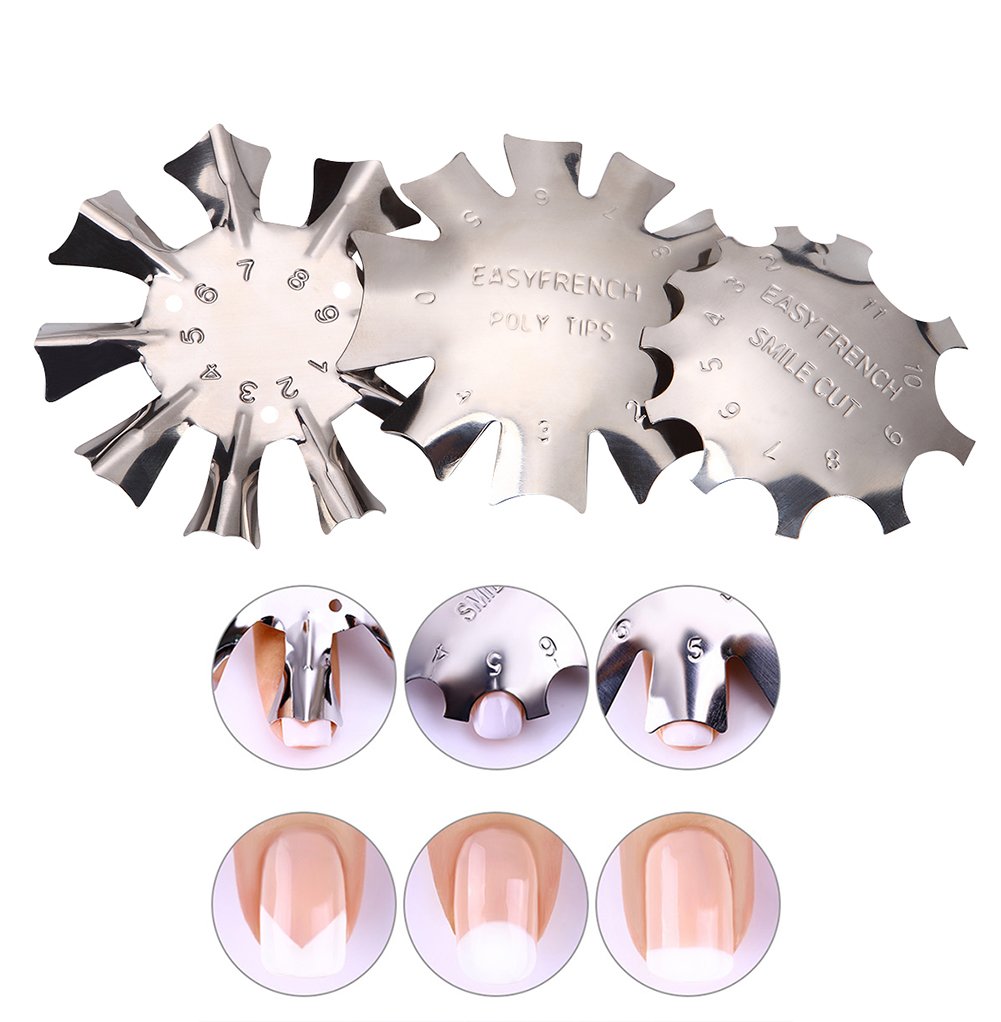
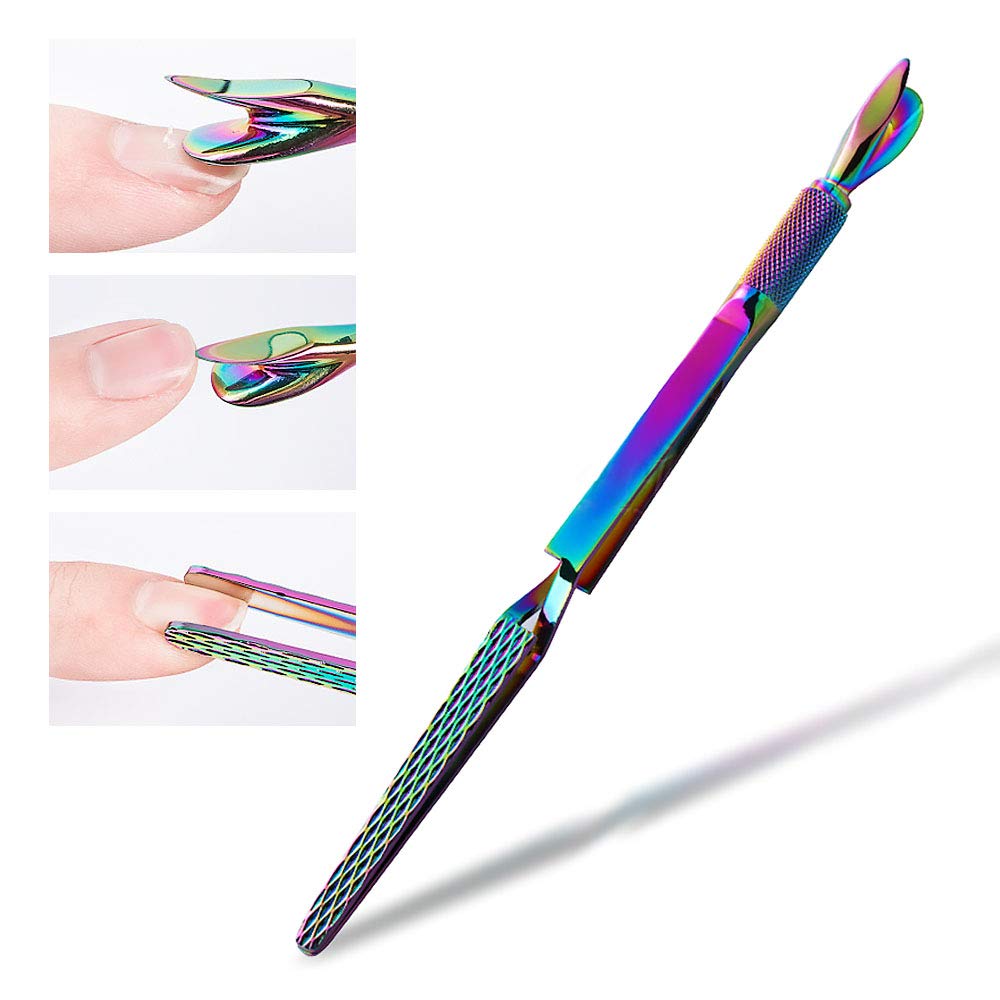
About beetles Gel Polish: Beetles Gel Polish is proud to be 9 toxin FREE Gel that provides great pigment, coverage, and long-lasting gel for our customers! Our formula comes from well-known sources around the world along with numerous product testing trials of what ingredients are of the good quality for our customers to use! We believe that not only the quality of the gel is important, but also the ingredients that are being used are safe for our customers to use without being exposed to any toxic materials! 1. Start with clean, oil free nails. Lightly buff the surface of nails. 2. Apply a thin layer of base coat, and cure it under UV/LED lamp (It is supposed to be sticky! No need for wipe) 3. Select a suitable shape & size false nail tip for each nail. 4. Squeeze the poly extension gel out of the tube and using the spatula end of the pen, slice off and roll into the false nail. 5. Take the brush end of the pen and pat the poly extension gel into place for your desired length. *For better consistency, you can use the base coat gel to smooth it out! 6. When finished, stick the false nail onto your real nail and gently press down. Cure under UV/LED lamp. 7. Lift a corner of the false nail tip to pop off and remove. 8. Trim, shape, buff and polish your nails for the desired look. 9. Finish off with top coat and cure under UV/LED lamp. Here are some warm tips for you to apply the poly extension nail gel: 1. The most important part to prep your nails is to remove the cuticle, file and buffer the nail plates, and then clean it with nail cleanser or 75% alcohol. Only by prepping well, the poly extension gel nails can be prevented from lifting and popping off. Usually it will last for at least 2 weeks. 2. Dip the brush in 75% rubbing alcohol so that the gel can be formed smoothly. The point is to keep the brush moist, but not wet. 3. Once you feel the heat spike while curing, pull out your hands from the lamp. And put in again when the spike’s gone, and it will not spike with heat again. 4. Wipe the poly extension gel on both side after curing to remove the sticky layer. 5. This poly extension gel is file-off, not soak-off. If you want to remove it, a nail file or a nail drill machine will help a lot. Butterfly Flakes/Rhinestones Guide: 1. Apply top coat, DO NOT CURE. 2. Use tweezers to pick up and place flakes/rhinestones onto your nail, CURE 60-90 sec. 3. Apply strengthener to seal in flakes and strengthen, CURE 60-90 sec. 4. Apply top coat, CURE 60-90 sec. WARNING: May produce an allergic reaction by skin contact. Avoid contact with eyes, mouth, and skin.NailsALIPHATIC URETHANEStart with clean, oil free nails. Lightly buff the surface of nails.Apply a thin layer of base coat, and cure it under LED lamp (It is supposed to be sticky! No need for wipe)Select a suitable shape & size false nail tip for each nail.Squeeze the poly extension nail gel out of the tube and using the spatula end of the pen, slice off and roll into the false nail.Take the brush end of the pen and pat the poly extension nail gel into place for your desired length. *For better consistency, you can use the base coat gel to smooth it out.When finished, stick the false nail onto your real nail and gently press down. Cure under LED lamp.Lift a corner of the false nail tip to pop off and remove.Trim, shape, buff and polish your nails for the desired look.Finish off with top coat and cure under LED lampPlease Feel free to contact us if you have any question
Product Overview
We Recommend