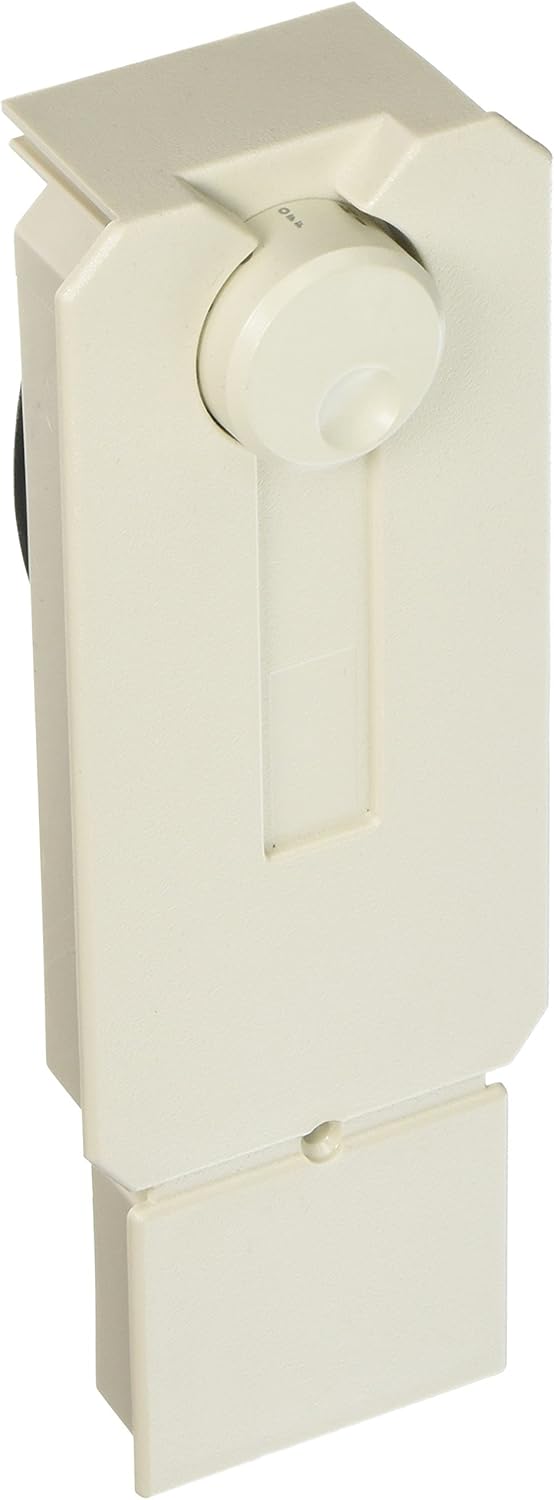
HEATWAVE Floor Heating Cable 120V (32-60 Square Feet) Includes 7-Day/4 Event Programmable GFCI Thermostat -
- Category: Heaters & Accessories
- Store: HEATWAVE
Share on:
Description
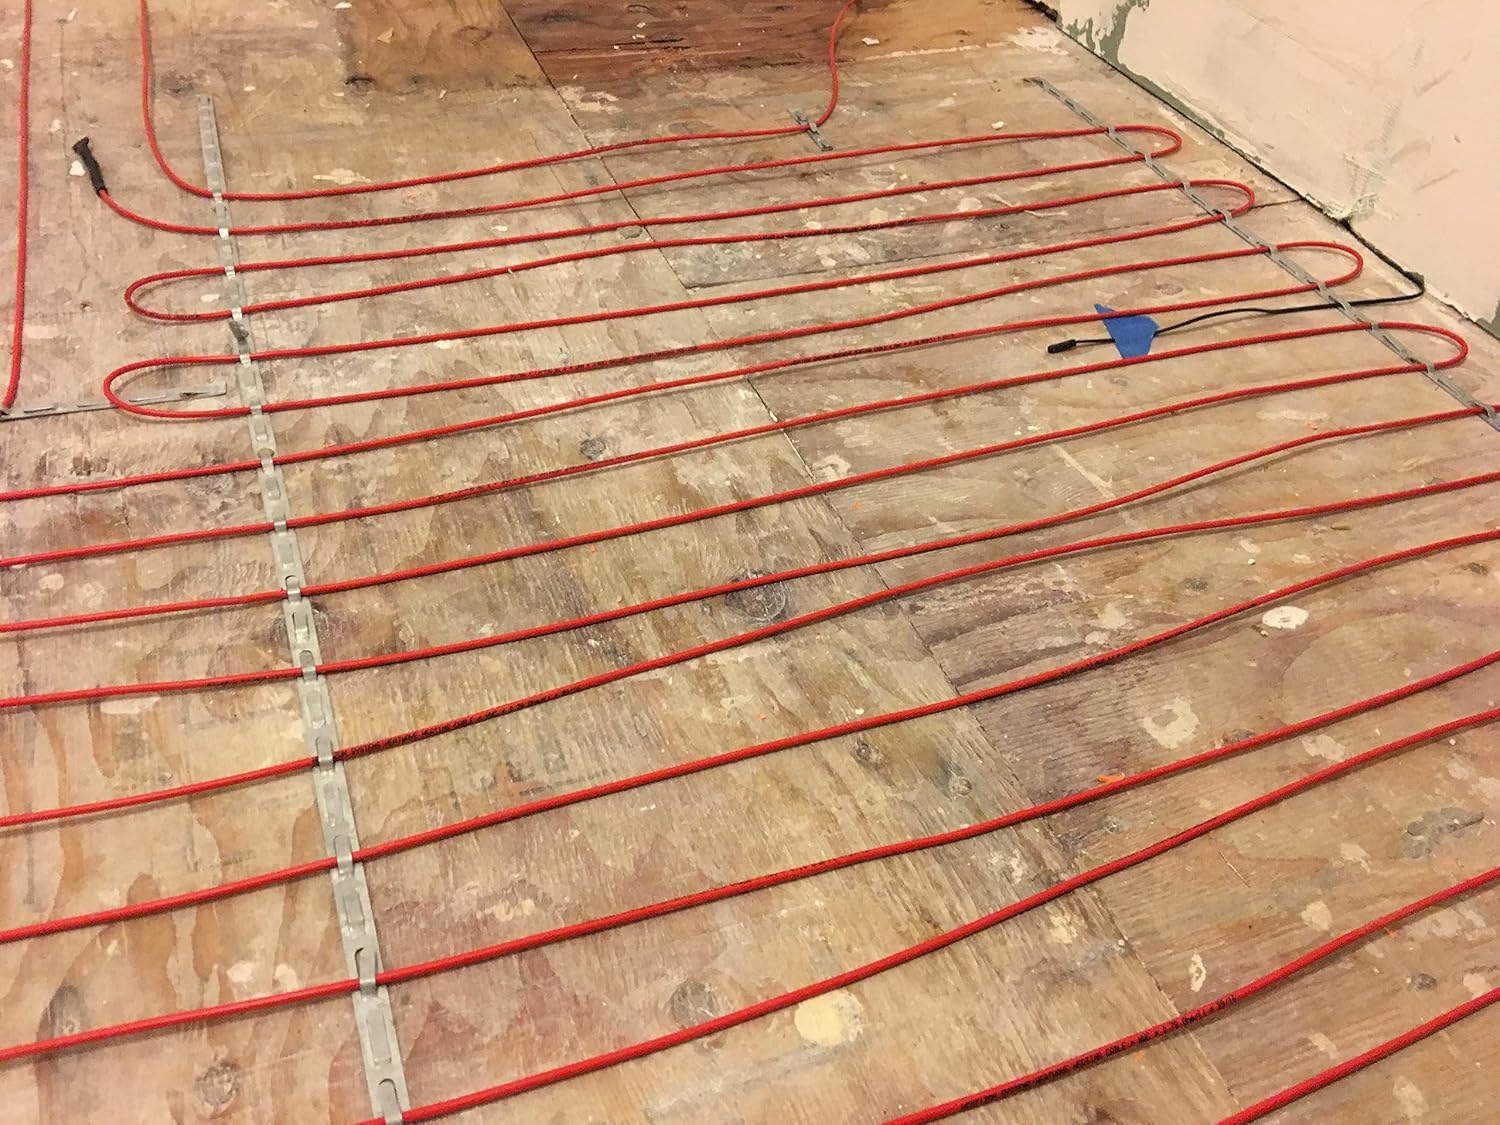
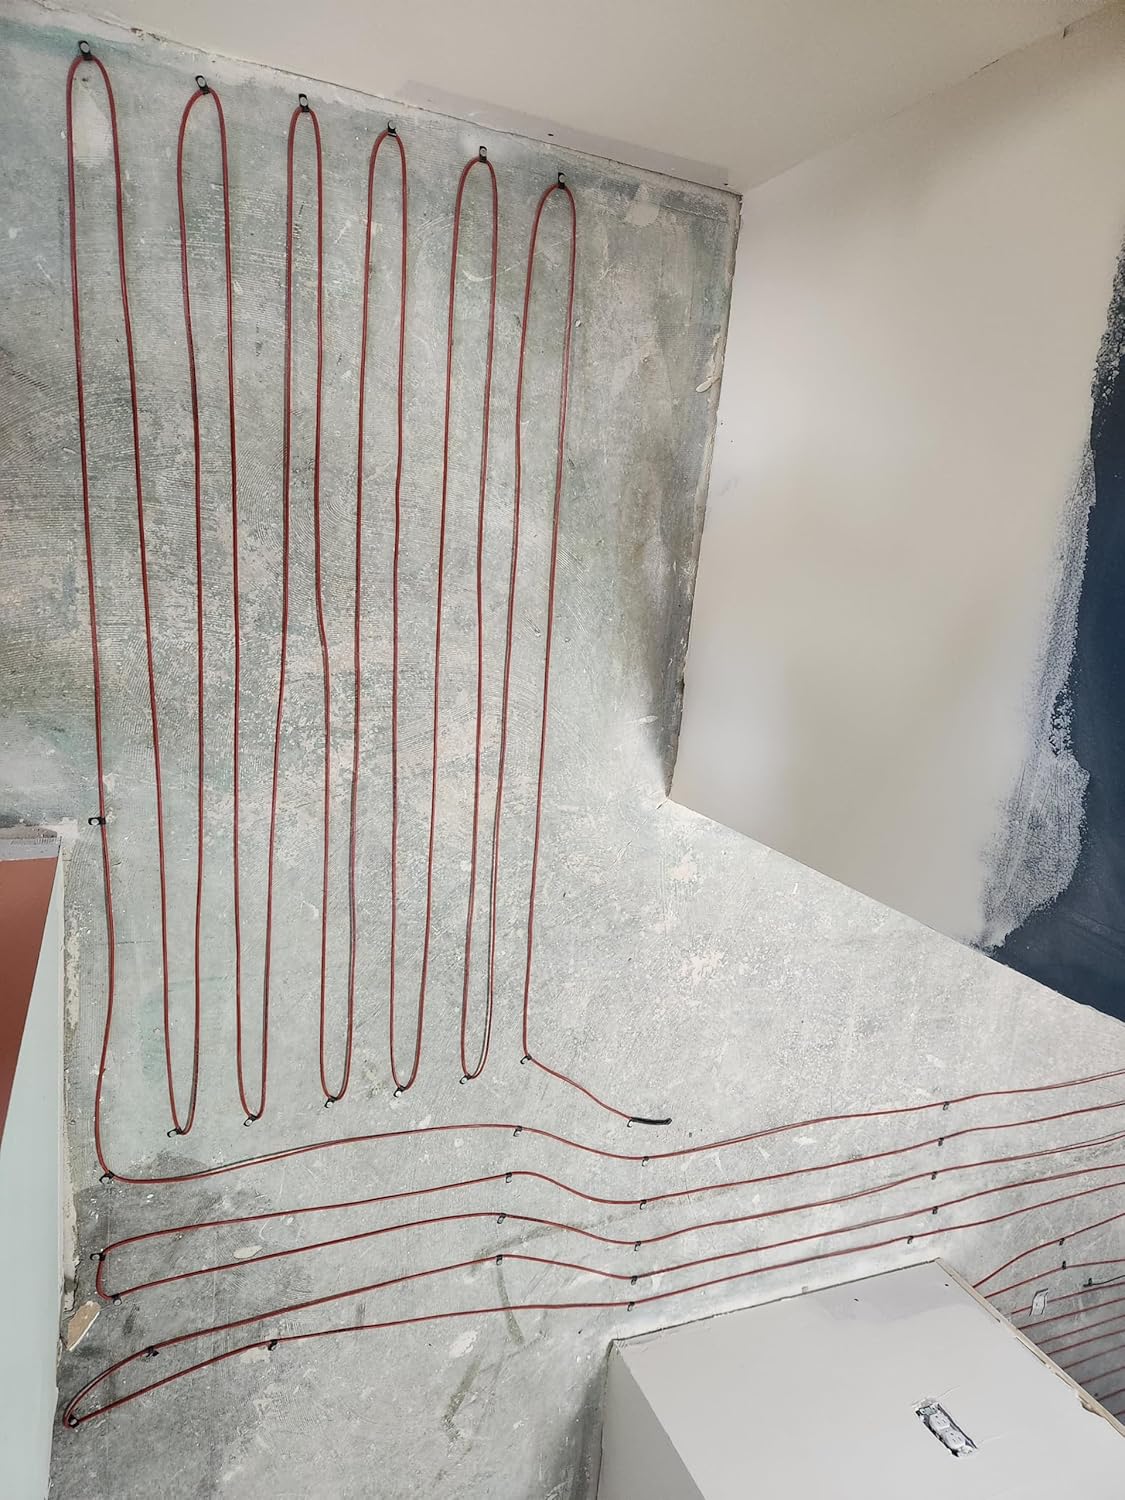
No featured offers availableWe feature offers with an Add to Cart button when an offer meets our high standards for: Quality Price, Reliable delivery option, and Seller who offers good customer service “No featured offers available” means no offers currently meet all of these expectations. Select See All Buying Options to shop available offers.This product is compatible with outlets that support 120 volts and might require a converter when used outside of the United States. The first step for installing a Heatwave cable floor heating system is to determine the spacing for your project. Get the length of your Heatwave Cable Divide the size of your area by the length of the cable (EX: 35/154=.23) Times the result by 12. This is your spacing. (EX: .23x12= 2.76") If your calculation is less than 2", choose a smaller Heatwave cable. If your calculation is larger than 5", choose a larger Heatwave cable. Be sure to follow all the instructions in the Heatwave manual during installation. Now that you have the Heatwave Cable spacing, install the cable straps where you intend the cable to turn. The straps should be on opposite ends of the space to be heated, perpendicular from the cable. Make sure the straps are securely attached to the subfloor to ensure your Heatwave cable doesn't shift while being embedded. If you are using clips or other methods to attach the cable to the floor, the cable can be fastened to the floor as you go while following the pre-determined spacing. If using a product that the cable clips into, follow the instructions for installing that product first. Install the Heatwave floor heating cable as close as possible to the determined spacing. Once the strapping is installed, begin to layout the cable in a serpentine pattern at the appropriate spacing. Best advice is to leave the cable loose in the strapping (don't bend the tabs over the cable yet.) If you have to move or adjust the cable, having the tabs loose, allows this to go faster. Once you have all the Heatwave cable loosely in the straps and have used the entire roll, now tighten the tabs in the strapping, not too tight, you don't want to damage the cable. Tight enough to keep the cable from shifting. Complete your Heatwave cable testing and continue with your flooring install. Heatwave M429 Thermostat Uh... what? That's right! We obsess over our manual! You are purchasing an UNDER floor heating system that will be with you for many, many years! We've taken care of engineering a high-quality product, but we also know that a high-quality product has to be installed right, the first time. We revise our manual annually, when new install methods are refined, or when we see our customers asking similar questions, or even addressing custom or special situations. We put all of it in our manual. We know the Heatwave floor heating system might be installed on a weekend, early morning or the middle of the night, following our manual is the next best thing to having us install it for you! Still have questions? Our technicians aren't just in some call center overseas. They are US-based, are experts in not only the Heatwave system, but electric radiant floor heating in general. Plus, the person you talk to, gives feedback that goes into the manual. 120 Volt Heatwave Mat 240 Volt Heatwave Mat 120 Volt Heatwave Cable 240 Volt Heatwave Cable Heatwave is just ONE of Heatizon's wide range of amazing electric radiant heating products. We apply our vast knowledge into every product we make. Not only can we heat your floors, but we can heat your driveways, gutters, pipes and even your roof. To calculate the overall star rating and percentage breakdown by star, we don’t use a simple average. Instead, our system considers things like how recent a review is and if the reviewer bought the item on Amazon. It also analyzed reviews to verify trustworthiness.
Product Overview
We Recommend